Clean water is the foundation of a healthy fish tank. Your fish may look fine on the surface, but the water around them tells a deeper story. Invisible chemicals and compounds build up over time, and without testing, you will never know they are there until it is too late.
Using a water test kit at home is one of the smartest habits any fish keeper can develop. It takes only a few minutes, costs very little, and gives you real information about what is happening inside your tank. This guide will walk you through everything you need to know, from choosing the right kit to reading the results and acting on them.
Why Water Testing Is Essential for Fish Health
Fish live in a closed environment. Unlike rivers or lakes, a home tank does not refresh itself. Waste builds up. Bacteria multiply. Chemical levels shift. All of these changes affect your fish directly, even when the water looks clear.
Testing your water regularly allows you to catch problems early. High ammonia, for example, is invisible but deadly to fish. Nitrite spikes can happen quickly after overfeeding or a filter disruption. pH swings stress fish over time and weaken their immune systems.
Therefore, testing is not optional if you want a thriving tank. It is one of the most important home fish tank tips any experienced aquarist will share with a beginner.
Understanding the Types of Water Test Kits
Before you test anything, you need the right tool. There are two main types of aquarium water test kits available for home use.
Test strips are the simpler option. You dip a strip into the water, wait a few seconds, and compare the color change to a chart. They are quick and affordable. However, they are not always the most accurate option, especially for precise readings.
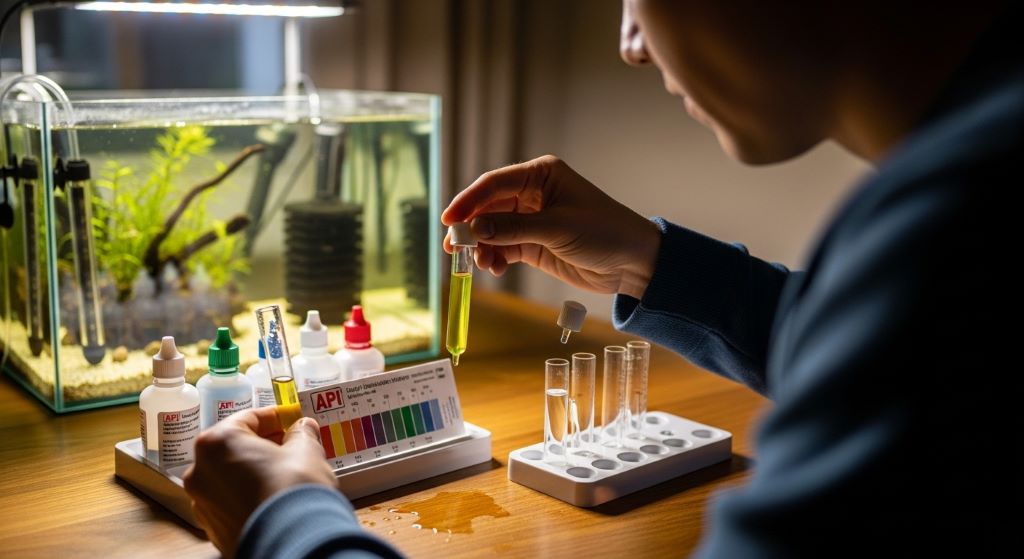
Liquid test kits take a little more time but offer better accuracy. You collect a small water sample in a test tube, add a few drops of chemical reagent, and compare the resulting color to a reference card. Most serious hobbyists prefer liquid kits for this reason.
Additionally, there are digital testers available for certain parameters like pH and TDS (total dissolved solids). These give instant numerical readings and are great for ongoing monitoring.
What Parameters You Should Test
Not all tests are equally important. However, there is a core set of parameters every fish keeper should monitor regularly.
Ammonia is the first and most critical. It comes from fish waste, uneaten food, and decaying plant matter. Even small amounts are toxic to fish. You should test for ammonia at least once a week in a new tank and every two weeks in an established one.
Nitrite is the next concern. It is produced when beneficial bacteria break down ammonia. During the early weeks of a new tank, nitrite can spike sharply. Test for it frequently during the cycling process.
Nitrate is the end product of the nitrogen cycle. It is less immediately harmful than ammonia or nitrite, but high levels over time stress fish and encourage algae growth. Regular water changes keep nitrate in check.
pH measures how acidic or alkaline your water is. Different fish have different pH preferences. Knowing your tank’s pH helps you choose compatible species and troubleshoot health problems.
General hardness and carbonate hardness are worth testing occasionally too, especially if you keep sensitive species or live plants.
Step-by-Step Guide to Using a Liquid Test Kit
Using a liquid test kit correctly gives you the most reliable results. Follow these steps each time for consistent accuracy.
Gathering Your Supplies
You will need your test kit, a clean test tube, and a water sample from your tank. Always rinse the test tube with tank water before collecting your sample. This removes any soap or residue that could affect the result.
Collect water from the middle of the tank, not right at the surface or near the gravel. The middle zone gives the most representative sample of the water your fish are actually living in.
Running the Test
Read the instructions for each specific test before you begin. Different parameters require different amounts of water and different numbers of reagent drops. Following the instructions precisely is essential for accurate results.
Add the correct number of drops to your water sample. Cap the tube and shake it gently for the amount of time specified. Then set it down on a flat, white surface. A white background makes it much easier to read the color accurately.
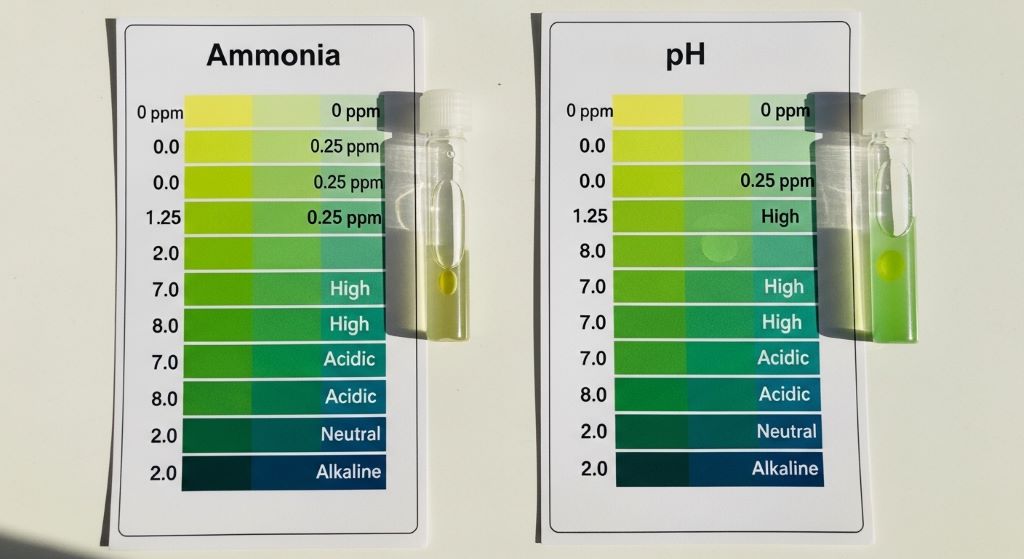
Wait the full development time before comparing. Rushing this step leads to inaccurate readings. After the waiting period, hold the tube up to the color chart in natural light if possible. Artificial light can shift color perception slightly.
Recording Your Results
Write down every reading you take. Keeping a simple log — even just a notebook beside the tank — gives you a picture of how your water changes over time. This is one of the most practical DIY aquarium care habits you can build.
A single reading tells you where you are today. A series of readings tells you where your tank is heading. Patterns in your log help you spot problems before they become serious.
How to Read and Interpret Your Test Results
Getting a number or a color match is only half the work. You also need to know what that result means for your fish.
Ammonia should read zero in a healthy, cycled tank. Any detectable ammonia is a cause for action. Do a partial water change immediately and investigate the source.
Nitrite should also read zero in an established tank. If it reads anything above zero, perform a water change and check your filter. Your beneficial bacteria colony may be disrupted.
Nitrate below 20 ppm is ideal for most freshwater fish. Levels between 20 and 40 ppm are acceptable with regular water changes. Above 40 ppm, increase your water change frequency.
pH is best kept stable rather than perfect. A steady pH of 7.0 suits most common freshwater species. However, sudden swings in either direction are more harmful than a reading that is slightly outside the ideal range.
Common Testing Mistakes and How to Avoid Them
Even experienced fish keepers make errors when testing. Knowing the pitfalls helps you get better results.
- Testing right after a water change gives a falsely clean reading. Wait at least 24 hours after a change for accurate results.
- Using expired reagents produces unreliable color changes. Always check the expiration date on your test kit.
- Shaking the test tube too little or too much affects color development. Follow the instructions for shaking time exactly.
- Reading the color in dim or colored lighting makes matching difficult. Use a well-lit area with a neutral background.
- Skipping tests during a tank cycle gives you a false sense of security. Test more often when a tank is new, not less.
How Often Should You Test Your Tank Water
Testing frequency depends on the age and stability of your tank. New tanks need much more frequent testing than established ones.
During the first four to six weeks of a new tank, test ammonia and nitrite every two days. This period, known as the nitrogen cycle, involves rapid chemical changes that can harm fish quickly.
Once the cycle is complete and readings are stable, you can scale back. Testing once a week is a solid routine for most home tanks. Additionally, test any time you notice unusual fish behavior, cloudy water, or after a major change like adding new fish or changing the filter.
These home fish tank tips apply whether you keep a simple community tank or a more complex setup with sensitive species.
Acting on Your Test Results
Testing without acting on the results defeats the purpose. When your readings go outside the safe range, take prompt action.
A partial water change is the most common and effective response to high ammonia, nitrite, or nitrate. Changing 20 to 30 percent of the tank volume dilutes the problem quickly. Repeat if levels remain elevated after 24 hours.
If pH is unstable, check your buffer capacity with a carbonate hardness test. Adding crushed coral or a commercial buffer can stabilize pH naturally over time.
For persistent problems, consider your feeding habits, stocking levels, and filter maintenance. Often, the root cause is simple. Overfeeding, overcrowding, or a dirty filter is behind most water quality issues in home tanks.
Conclusion
Testing your aquarium water at home is straightforward, affordable, and essential. It removes the guesswork from fish keeping and gives you real control over your tank’s health. By choosing the right kit, following the correct testing steps, and keeping a record of your results, you can catch problems early and keep your fish thriving.
Good DIY aquarium care starts with knowing what is in your water. Whether you are cycling a new tank or maintaining one that has been running for years, regular testing is the most reliable way to stay ahead of problems. Use the steps and home fish tank tips in this guide to build a testing routine that works for you and your fish.
Frequently Asked Questions
How often should I test my aquarium water?
Test every two days during a new tank cycle. Once the tank is established and stable, testing once a week is sufficient for most home setups.
Are test strips accurate enough for home use?
Test strips give a general picture and work well for quick routine checks. However, liquid test kits are more accurate, especially when you need precise readings for troubleshooting.
What is the most important parameter to test first?
Ammonia is the most critical parameter to test. It is the first compound to rise when something goes wrong, and even low levels are toxic to fish.
Can I test my water right after a water change?
It is best to wait at least 24 hours after a water change before testing. Testing immediately after a change gives a misleadingly clean reading that does not reflect the tank’s true condition.
What should I do if my ammonia reads above zero?
Perform a 25 to 30 percent water change immediately. Avoid feeding for 24 hours, check your filter for blockages, and retest the following day to confirm levels are dropping.
Related Topics:
How to Save Electricity With an Energy Efficient Aquarium Pump
How to Choose a Vacuum Cleaner for Small Apartments