
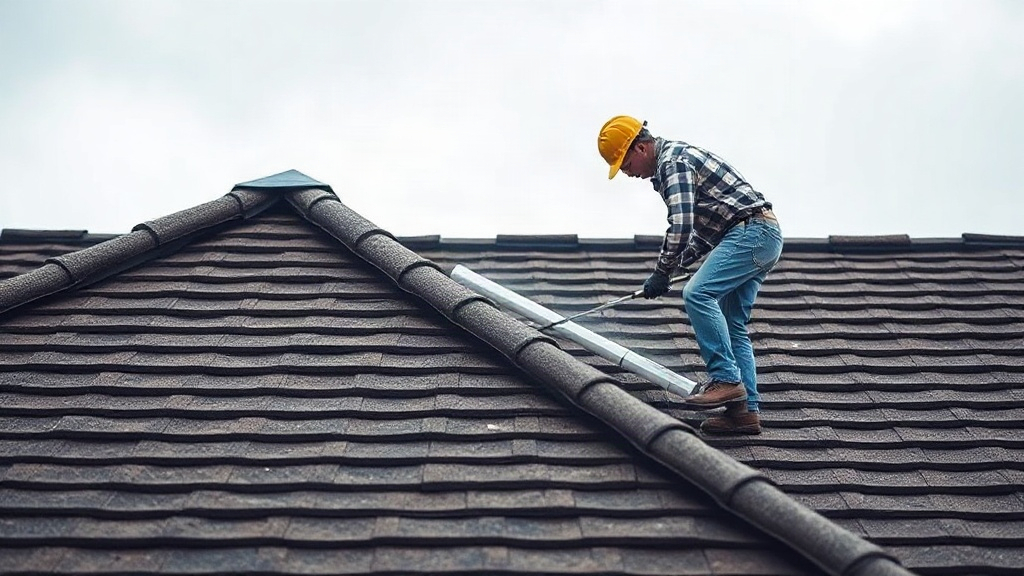
The smartest time to inspect your roof for leaks before the first storm rolls in is a dry, calm afternoon weeks ahead of the forecast. Standing in a downpour hunting for the source of a ceiling stain is miserable, and by then the damage has already spread. This guide walks you through a practical, safety-first inspection you can do yourself, the warning signs that matter most, and when to call a professional. You can also find broader home maintenance planning ideas at //homeyplans.com if you want to coordinate this task with the rest of your seasonal checklist.
Quick answer: Walk the roof only if it is dry, low-slope, and safe to access; otherwise inspect from the ground with binoculars and check the attic from inside. Look for cracked or lifted shingles, damaged flashing around chimneys and vents, clogged gutters, and water stains on rafters. Fix small issues immediately and document everything with photos before the rainy season begins.
What is inspect your roof for leaks before?
To inspect your roof for leaks before rainy season is a preventative routine, not a repair job. The goal is to find weaknesses while conditions are dry and you have time to act. Water is patient; it will find the smallest gap and exploit it over months. A pre-season inspection maps those vulnerabilities in advance.
The inspection has two halves that work together. The exterior pass looks at the surfaces water hits first: shingles, flashing, sealant, and gutters. The interior pass looks at what happens after water gets past the surface: rafters, sheathing, insulation, and ceiling drywall. Skipping either half leaves you with an incomplete picture.
Timing matters. Most roofing materials expand and contract with temperature, so a roof inspected on a mild, dry day shows its true condition. A roof checked in freezing cold may look tight when cracks are actually wider than they appear. Aim for a warm, dry window at least a few weeks before your region’s typical rainy season.
The process itself is straightforward. You gather basic tools, do a slow ground-level scan, climb into the attic, and then examine the roof surface only if it is safe. Each step builds on the last, and each produces evidence you can compare year to year. A simple notebook or phone gallery becomes a useful history of your roof’s health.
One honest limitation: a visual inspection cannot detect every problem. Hidden moisture behind finished walls, hairline cracks under flashing, and slow leaks in complex roof valleys may stay invisible until they cause visible damage. That is why the inspection is a screening tool, not a guarantee. It catches the majority of common failures early, which is where the real value lies.
Takeaway: think of this as a seasonal health check for your roof, combining an outdoor scan with an attic review on a dry day.
Exterior versus interior checks
The exterior check answers “where could water get in?” and the interior check answers “is water already getting in?” Running both gives you confirmation rather than guesswork. When the two disagree, trust the interior evidence, because stains do not lie.
What tools you actually need
You need binoculars, a sturdy ladder, a flashlight, work gloves, a notebook or phone camera, and a hose with a spray nozzle for a controlled water test. No specialty equipment is required for a basic inspection.
Why inspect your roof for leaks before matters
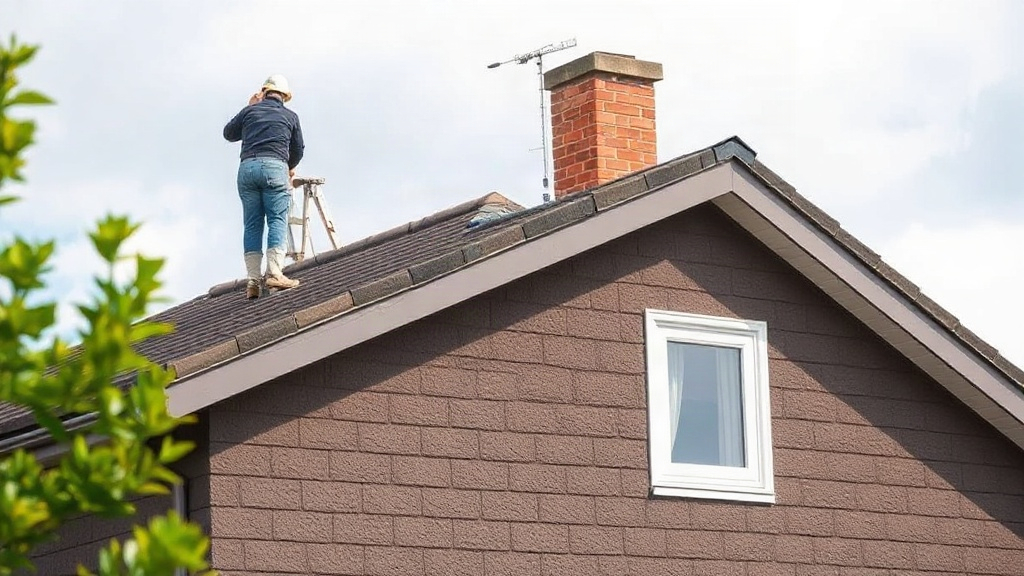
A leak that reveals itself during a storm has usually been developing quietly for months. By the time water stains a ceiling, moisture has often saturated insulation, softened drywall, and possibly reached framing. Repairing that cascade costs far more than sealing a single cracked flashing boot in October.
Early detection protects the structure, not just the surface. Wood framing that stays damp invites rot and, over time, can compromise the roof deck. Wet insulation loses its effectiveness, which raises heating costs and can trap moisture against cold surfaces. Catching the problem before the rainy season keeps these secondary failures from starting at all.
There is also a scheduling advantage. Roofing contractors are busiest during and immediately after storm season, when emergency calls pile up. A pre-season repair is a planned appointment; a mid-storm leak is an emergency premium. Doing the inspection early means you compete for attention when demand is low and pricing is steadier.
Insurance adds another layer. Many policies require homeowners to maintain their roofs and address known damage. Documented pre-season inspections show diligence and can support a claim if a storm later causes new damage, while neglected maintenance can complicate coverage. In our experience reviewing maintenance records, dated photos make those conversations far smoother.
Finally, the inspection itself builds knowledge. You learn how your roof is assembled, where its weak points sit, and what normal wear looks like. That baseline makes future inspections faster and lets you spot changes quickly, which is exactly the kind of awareness a home like those featured on coloradospringshomeliving.com benefits from year after year.
Takeaway: early, documented inspections save money on repairs, protect your home’s structure, and keep you ahead of contractor and insurance timelines.
Cost of prevention versus repair
A tube of roofing sealant and a replacement flashing boot cost a few dollars. Replacing rotted sheathing, insulation, and drywall after a season of hidden leaks can run into the thousands. The math almost always favors prevention.
The insurance and documentation angle
Photograph every issue with a date stamp and keep receipts for repairs. Insurers and future buyers respond well to a clear maintenance trail, and you will have proof of the roof’s condition before storm season.
Best practices
Start with a ground-level survey before you touch a ladder. Walk the perimeter with binoculars and look for curling shingle edges, dark streaks, missing granules in gutters, and sagging rooflines. This step is zero-risk and often reveals obvious problems, which saves you a climb.
When you do go up, follow ladder safety strictly. Place the ladder on level ground, extend it at least three feet above the roof edge, and have someone spot you. Wear shoes with grip and avoid walking on steep or wet sections. Many roofs are simply too steep for a safe DIY walk, and staying off them is the correct choice.
Check the attic during daylight and again with a flashlight. Look for water stains on rafters and sheathing, rusted nail tips, sagging insulation, and daylight showing through the deck. Rusted nails are a quiet but reliable leak indicator, because they discolour before water ever reaches the ceiling below.
Pay special attention to flashing. Chimneys, vent pipes, skylights, and wall intersections are where most leaks begin. Look for lifted metal, cracked caulk, and gaps where the flashing meets the roof surface. Re-sealing failed caulk is often the single highest-value task in a pre-season inspection.
Clean gutters and downspouts last. Clogged gutters force water sideways under shingles and against fascia, creating leaks that have nothing to do with the roof surface itself. Flush them with a hose and confirm water flows away from the foundation.
Takeaway: work from the ground up, respect ladder and roof-edge safety, and focus your effort on flashing and drainage, where most leaks start.
Using a controlled water test
On a dry day, run a hose on a suspected area for ten to fifteen minutes while a helper watches inside. Start low and move up slowly, so you can pinpoint the exact entry point.
Seasonal timing by climate
In cold climates, inspect in early autumn before the first freeze. In warm, rainy regions, inspect at the end of the dry season, when the roof has had months to reveal wear.
Common mistakes to avoid
The biggest mistake is inspecting only the shingles. Shingles shed most water, but failures concentrate at flashing, penetrations, and valleys. A roof with perfect shingles can still leak at a worn pipe boot, so photograph and examine every penetration individually.
Another common error is ignoring the attic entirely. Many homeowners scan the roof from the ground and call it done, missing stained rafters and damp insulation that prove water is already entering. The attic is where evidence accumulates, so inspect it every season without exception.
Walking a wet or frosty roof is both common and dangerous. Shingles lose traction when damp, and a fall is far costlier than any leak. If conditions are not dry and safe, stay off the roof and rely on ground and attic checks until they are.
People also over-seal. Slapping caulk over a gap without finding its cause traps moisture and hides developing damage. Fix the underlying flashing or fastener issue first, then seal as a finishing step, not a cover-up.
Finally, skip the temptation to postpone small findings. A cracked sealant line in September becomes a saturated ceiling in November. Log every issue, fix what you can, and schedule a professional for anything structural or beyond your comfort level.
Takeaway: look beyond the shingles, never skip the attic, stay off wet roofs, and repair rather than conceal every defect you find.
Overlooking small penetrations
Satellite dishes, antenna mounts, and plumbing vents are frequent leak sources. Count every penetration and check each one, because tiny fasteners create surprisingly persistent leaks.
Skipping documentation
Without dated photos and notes, you cannot track whether a stain is new or old. Document everything so future inspections have a baseline to compare against.
FAQ
How often should I inspect my roof?
Twice a year is a practical baseline: once before your rainy season and once in spring. Add an inspection after any major storm, and always check after high winds or hail.
What does roof leak repair typically cost?
Small fixes like resealing flashing or replacing a pipe boot are inexpensive and often DIY-friendly. Larger repairs involving sheathing or extensive flashing replacement cost considerably more, so get quotes before storm season.
Can I inspect my roof myself, or should I hire a pro?
You can handle ground-level scans, attic checks, and simple sealant repairs safely. Hire a professional for steep roofs, structural concerns, or any leak you cannot trace, especially if you are uncomfortable on ladders.
How do I know if a ceiling stain is an active leak?
Watch it during and after rain and check for dampness, discoloration spreading, or a musty smell. A stain that grows or feels damp is active, and it warrants prompt attention before the next storm.
Conclusion
Inspecting your roof before rainy season is a low-cost, high-value habit built on three moves: scan from the ground, check the attic for evidence, and examine flashing and drainage closely. Fix small defects early, document everything with dated photos, and call a professional for anything steep, structural, or hard to trace. Set a reminder for a dry day a few weeks before your region’s rains begin, grab your binoculars and flashlight, and run through the checklist once. Your roof will thank you when the first storm arrives.